
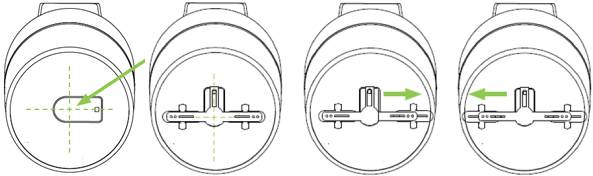
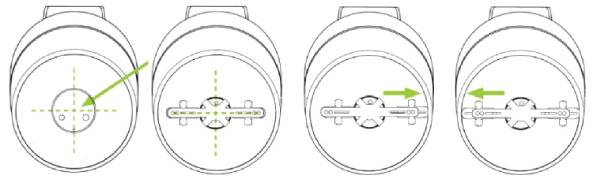
For aluminium gas cylinders, a special adapter was developed to clamp the module under the cylinder.
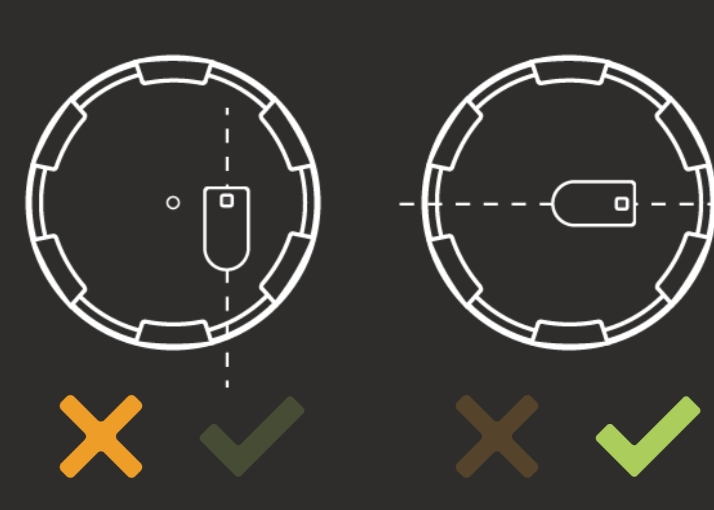
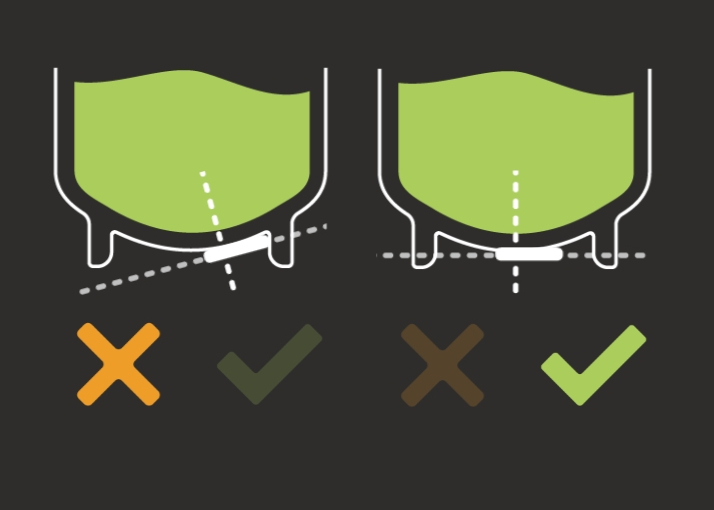
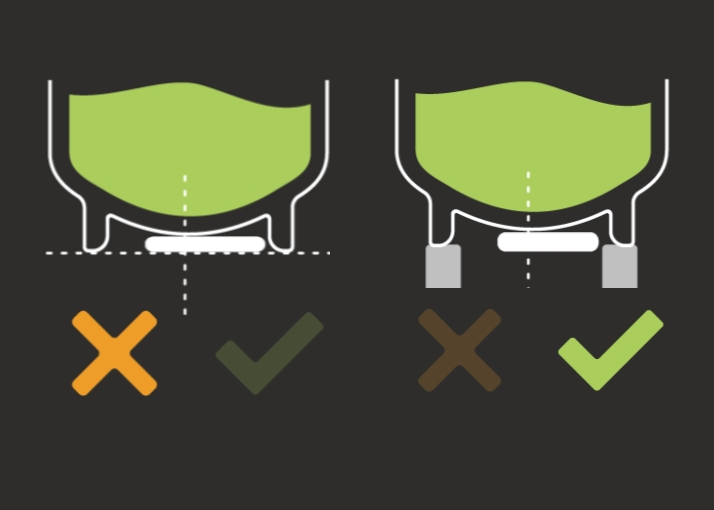
For cylinders with a dimple at the bottom, the positioning is very important. The rubber must not be positioned exactly on the dimple, otherwise the signal will not be transmitted correctly. If the sensor is placed too far next to the dimple, then when the cylinder is put down, the sensor may touch the floor, pushing the measuring mechanism (rubber) away from the cylinder.
The best solution is to place the cylinder on two slats, so that there is space between the sensor and the surface. It is also possible to use an adapter to clamp the sensor more firmly onto the bottle. This can be purchased from our webshop or from local dealers and webshops.
Points of attention
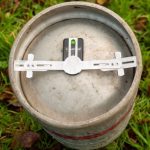
When inserting the E-Gaslevel, make sure that the rubber cap is not damaged and that it does not shift during use. This cap is necessary for data processing and cannot be replaced. A damaged cap will render the sensor unusable. If necessary, sand the underside of the gas bottle lightly with a sandpaper to remove any unevenness.
If necessary, lubricate the rubber with some dielectric grease (e.g. silicone grease/tap grease) before attaching the module to the tank. This can enhance the signal a little. We sell special ‘Sonic Grease’ in our webshop.
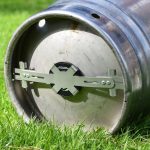
When using an adapter, ensure that the E-Gaslevel is inserted correctly. The rubber cap must be pressed against the cylinder.